


In this tutorial, we will discuss step by step how to deploy an ionic capacitor app to android and upload it to play store.
Outline
- Downloading and setting up dependencies
- Adding Android Platform
- Run app on virtual emulator or Android phone
- Building an unsigned APK for internal testing
- Building a signed APK
- Upload to Google Playstore
- Summary
Downloading and Setting up dependencies
There are three (3) dependencies needed for us to be able to build our android app. If you have all these already you can skip to the next section
- Java Development Kit (JDK)
- Gradle
- Android Studio
Java Development Kit (JDK)
The JDK is a development environment for building applications, applets, and components using the Java programming language. You need to download JDK version 8 or higher.
- Download it from here based on your operating system.
- Install and
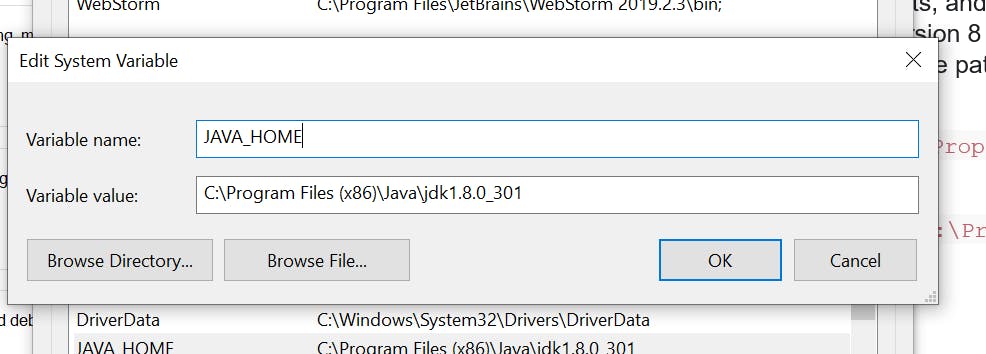
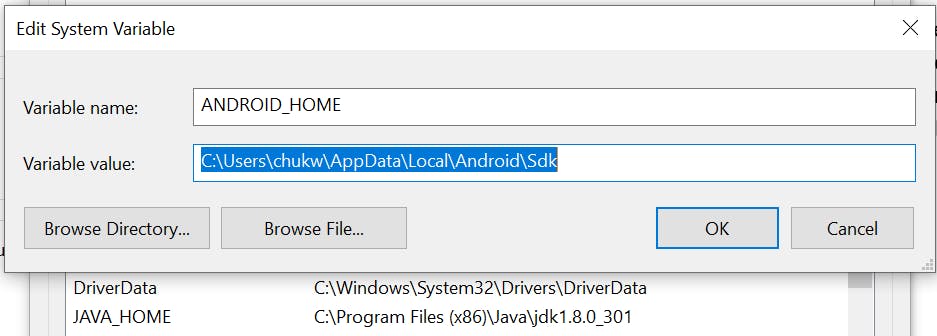
- Set the path to the JDK if it is not set automatically
In File Explorer right-click on the This PC (or Computer) icon, then click Properties -> Advanced System Settings -> Environmental Variables. Under System Variables click New, then add an entry for the path to the JDK.
C:\Program Files(x86)\Java\jdk1.8.0_301
- Verify installation in the terminal by running
java --version
Gradle
Gradle is an open-source build system that is used to automate the building, testing, and deployment, etc of software. Gradle runs on all major operating systems and requires only a JDK version 8 or higher to be installed. To set up Gradle follow these steps: There are many ways to install it, but we will cover doing it manually in windows.
- Download the latest version of Gradle from here
- Extract the zip files and place them in the C:/ drive preferably
- Then proceed to set the path to Gradle in your environmental variables In File Explorer right-click on the This PC (or Computer) icon, then click Properties -> Advanced System Settings -> Environmental Variables.
Under System Variables select Path, then click Edit. Add an entry for C:\Gradle\gradle-6.8.2\bin.
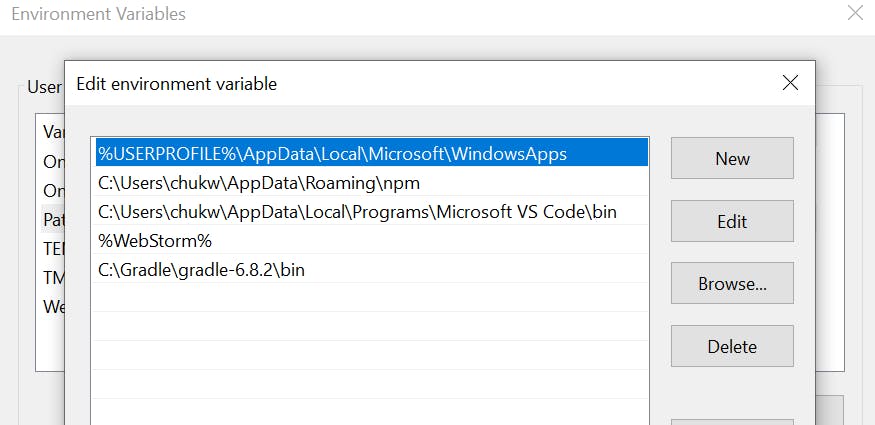 Click OK to save.
- Verify your installation. Open a console (or a Windows command prompt) and run
gradle -v
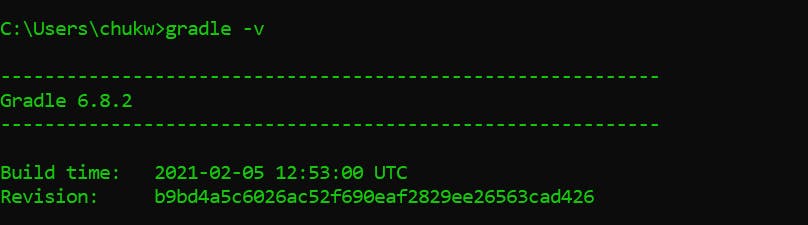 That’s it. Gradle is installed on your PC.
Android Studio
We need Android Studio to build Android Applications. If you don’t have it proceed to their website to download and install it. Once you run it after installation for the first time, Android studio will take you through a setup wizard. Choose all the standard options, the wizard will take care of installing all the dependencies you will need, this includes Android SDK (Software Development Kit), emulator, and build tools. Hit Finish when done. Proceed to set the path to Android SDK, as you did for JDK.
 And we are good to go. All dependencies are installed and set up completely.
Add Android Platform to Capacitor
To enable Android builds in our Ionic (Capacitor) project, we need to add an Android platform to it. You need to build your ionic build first (If you haven’t done that already) to create the web code that will be converted to native using this command:
npm run build
This creates the www folder. Now proceed to add Android by running the following command
npx cap add android
Note: When including the android platform, Capacitor will spontaneously copy your web code into a native project. Nevertheless, if after adding the Android platform, you made changes to your web code. You will need to copy the changes to the native project.
Use this command to copy:
npx cap copy
If you made any changes to the plugins in your application, you should run the command below to accommodate the changes.
npx cap update
Or run this command to do both actions of copying and updating:
npx cap sync
Then once you have added the platform and done all necessary copying and updating, run this command:
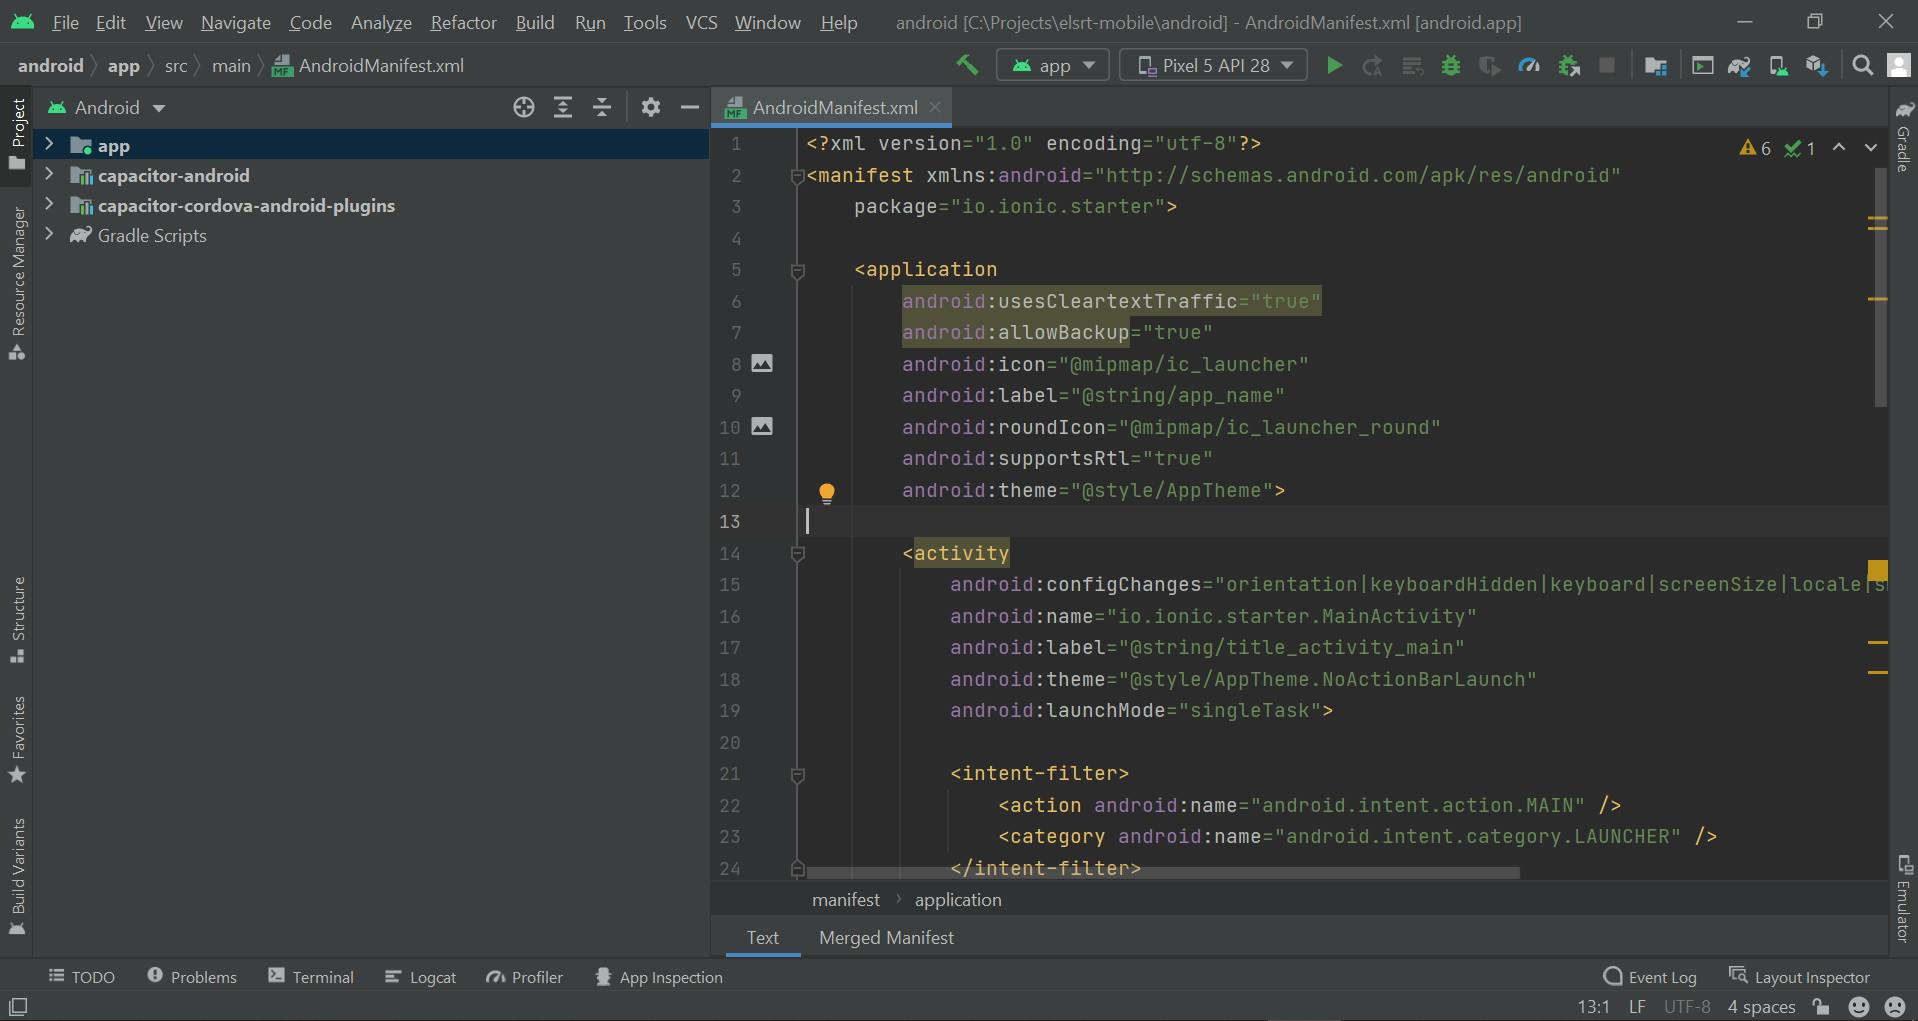
npx cap open android
This will open your native Android project in Android. The first time you open the project, Gradle will install all the dependencies required for your project. It will take a little time though.
Run app on virtual emulator or Android phone
You can run your Android application on an Android device connected through USB or a virtual device. All you need to do is to hit the Play button on the top-right-hand side of the screen.
To use your plugged-in phone, you need to put your phone in developer mode. Different phones have different ways to activate developer mode. Once in developer mode, you will need to authorize it, then you will be able to deploy it to that device.
To use a virtual device or emulator (If you don’t have any installed already), Go to top-right and select Tools -> AVD Manager (Android virtual devices) -> Create Virtual device

Select, install and customize as you wish.
Building an unsigned APK for internal testing
You may want to build Android APK for internal testing within your organization, this can be done easily. Just select the build on the top-left-hand side, Build Bundle(s)/APK(s), then build APK(s).
You can find the APK generated in the debug folder
project-name/android/app/build/outputs/apk/debug
Building a signed APK
When you are ready to deploy your application to the play store to be released to users, you will need to build a signed APK. Your APK needs to be signed with a private key (Keystore). This is very necessary because it is a way of proving to whom the app belongs and who can update it. To build your signed APK, you should first go to
Build > Generate Signed APK on the top-left-hand side.
Make sure Android App Bundle is selected, then click Next.
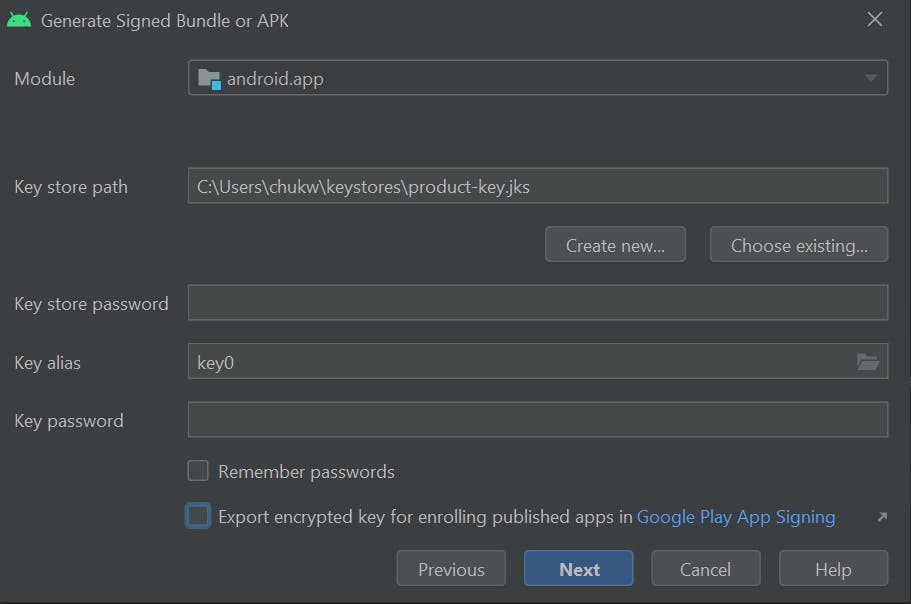
This screen comes up, Fill in your private key (Keystore file) for the project and other details. If you don’t have a Keystore file then select Create New. Select a folder to store the key and enter a name for the Keystore. The Keystore is a file with a .jks extension. Then create a new password and fill in other necessary details. Click OK, when you are done and then Next.
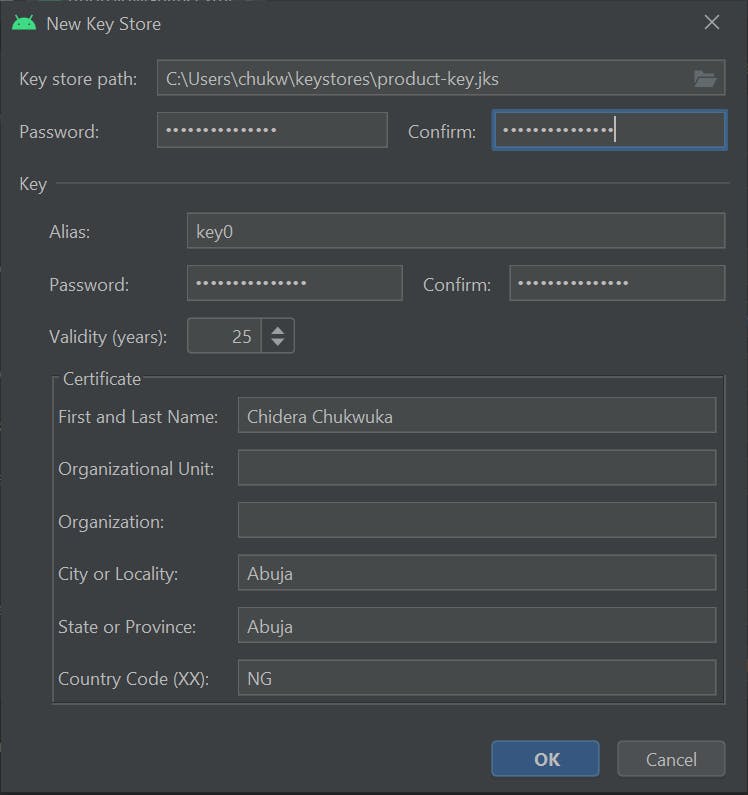
NB: It is necessary to keep this Keystore file safe because you need it to update your app on PlayStore. Without it, you can’t update your app on PlayStore. Choose a safe place to keep it and choose a strong password.
Be sure to choose the release build type, and click Finish:
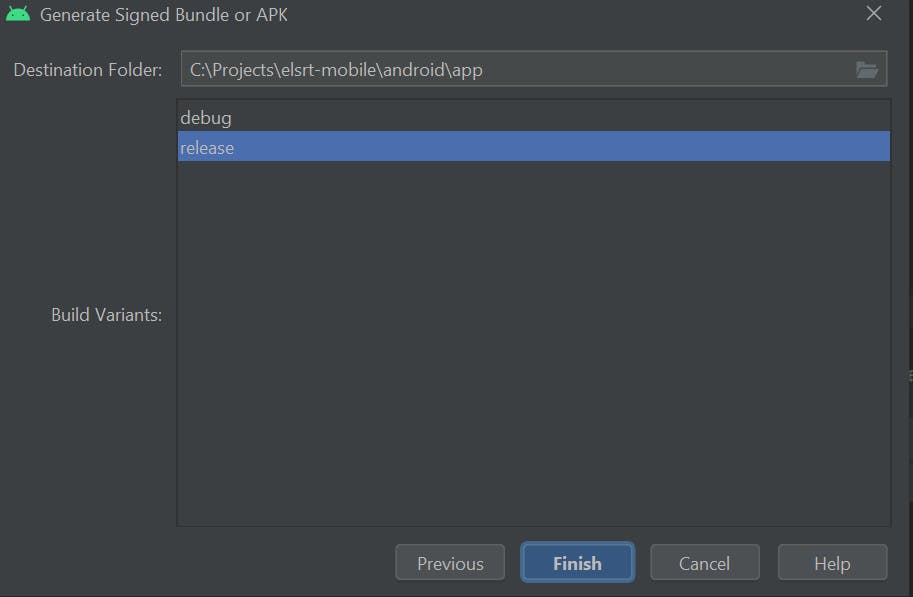
Once you complete this step, the application will begin building. Once it has finished, you will be able to find your signed APK:
your-project/android/app/release/app-release.aab
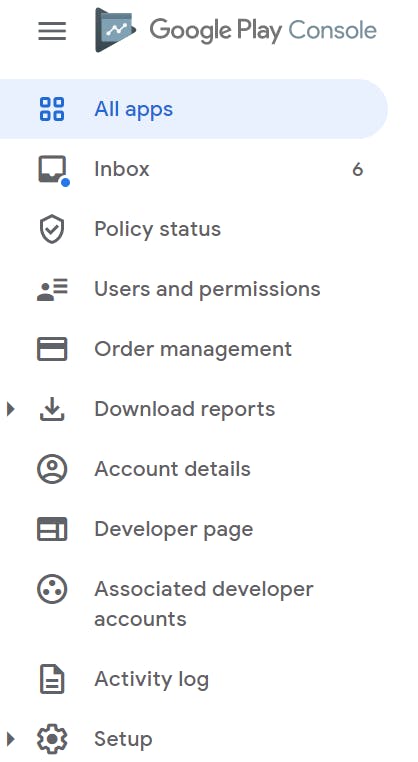
Upload to Google Play Store
To upload your app to PlayStore, Go to Google play, Then click Go to Play Console. You will need to register for a developer account and make a one-time payment of $25. Once you have logged in, click on Create App and fill in your app name and other details, then proceed. On the left menu, select all applications.
You will see a list of the apps you have created. Select from the list, the one you want to upload the APK. On the side menu, select production
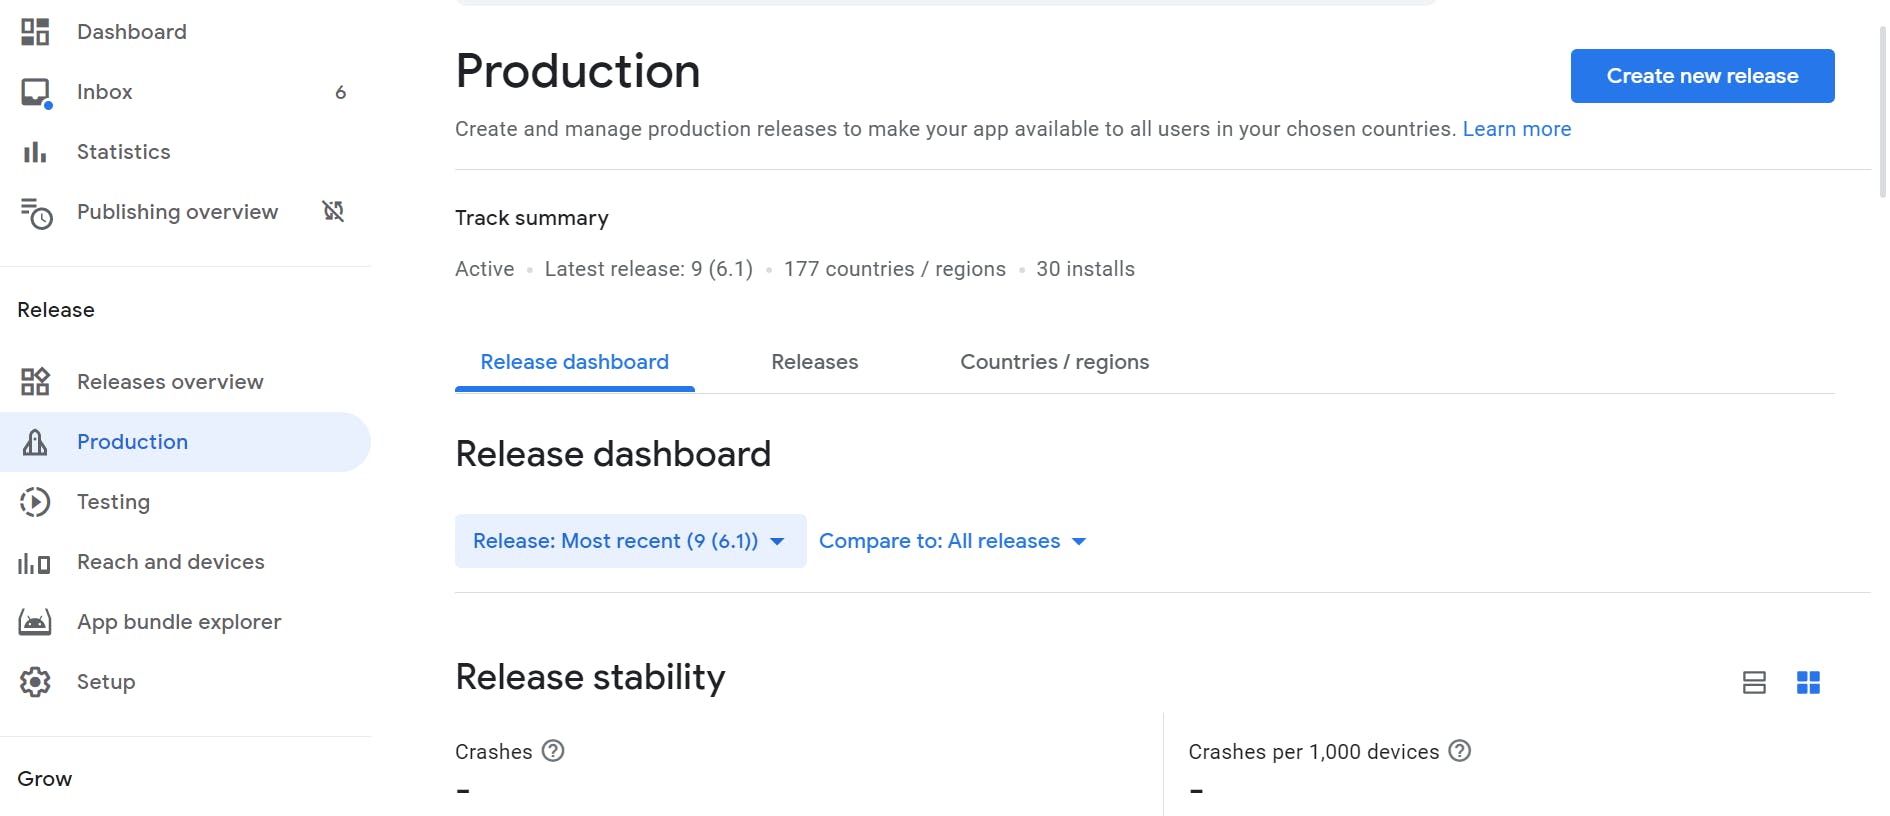
Then click Create New Release.
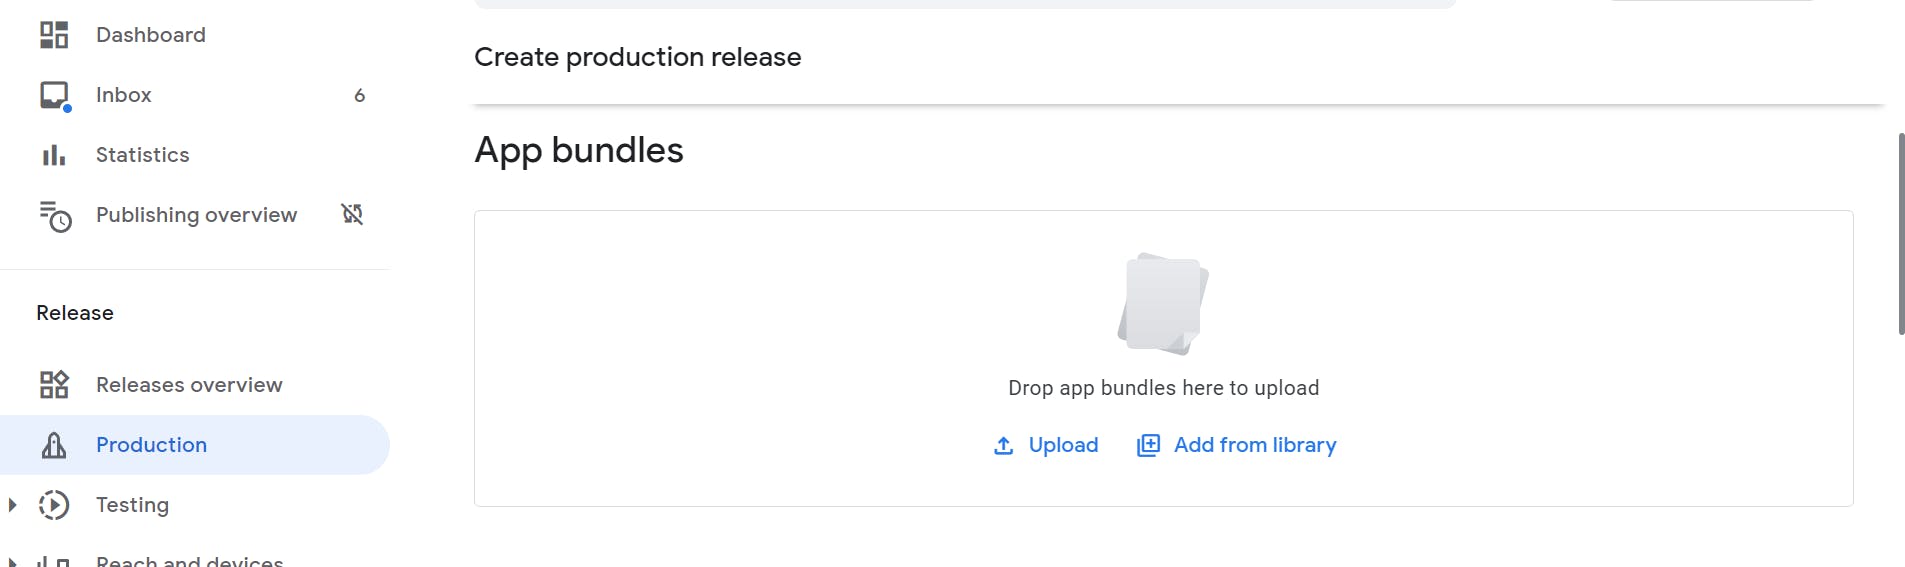
Upload your signed aab file, and fill in release details. Then click Save and Review release. You will now be able to review any issues with your application. If all is good, you will be able to select Start Rollout to Production. If you did everything correctly, your application should be available soon on Google PlayStore.
Summary
Building an Ionic (Capacitor) App and Uploading it to Google PlayStore is not very difficult once you have known your way around Android Studio.
I hope you enjoyed the article, feel free to share.